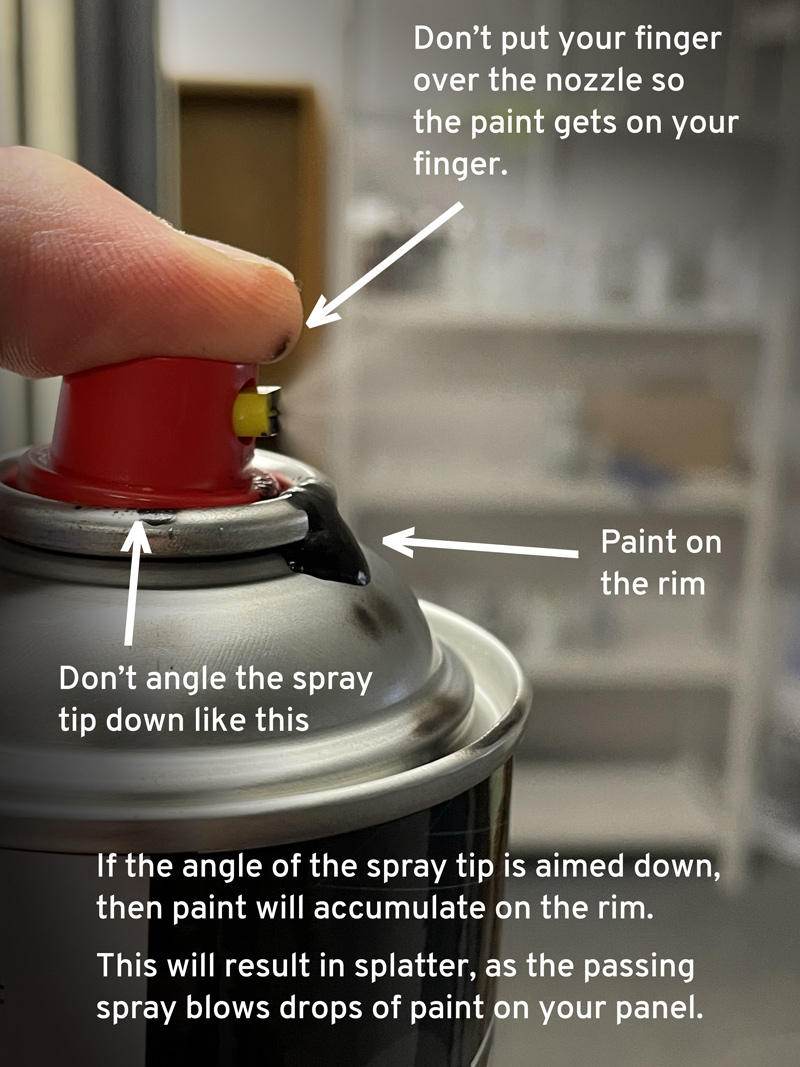
One essential tip to keep in mind is to maintain a consistent distance between the spray can and the surface you’re painting. Holding the can too close can result in excessive paint buildup and drips, while holding it too far may lead to uneven coverage.
Finding the optimal distance, usually around 8-12 inches (20-30 cm), allows for a controlled and even application of paint, reducing the likelihood of drips. Remember to experiment and adjust the distance as needed, especially when working on different surfaces or using various spray paints.
How to prevent spray paint from dripping
To prevent spray paint from dripping, consider the following methods based on your specific needs:
- Surface/Object:
If you could specify the surface or object you want to prevent spray paint from dripping on, I can provide more targeted advice. Different materials may require different approaches.
- Preferences/Constraints:
Please let me know if you have any specific preferences or constraints, such as preferred materials or budget-friendly options. This information will help me tailor the recommendations to your specific requirements.

Prevention during Application:
To prevent spray paint from dripping during the application, you can follow these general tips:
- Shake and warm the can:
Before using spray paint, shake the can vigorously for a few minutes to ensure proper mixing of the paint. Additionally, consider warming the can slightly by placing it in warm water (not hot) for a few minutes. This can help reduce the viscosity of the paint and minimize drips.
- Maintain proper distance:
Hold the spray can at the recommended distance mentioned on the can itself. Typically, it’s around 8-12 inches (20-30 cm) away from the surface. Spraying too close can lead to excessive buildup and dripping.
- Use light, even coats:
Apply the paint in light, sweeping motions. Start spraying before reaching the surface and continue spraying beyond, maintaining a consistent speed. Avoid stopping or hesitating in one spot, as it can cause paint to accumulate and drip.
- Work in controlled environments:
Spray paint in a well-ventilated area with minimal wind or airflow. Wind can cause overspray or push the paint around, increasing the chances of drips.
Post-Application Techniques:
If you’ve already applied the spray paint and noticed drips, here are some methods to address them:
- Catch drips with a cloth:
If you notice a drip forming, you can gently catch it with a clean cloth or sponge to prevent it from running further. Be careful not to smudge the surrounding paint.
- Sand and retouch:
Once the paint has dried, you can lightly sand the dripped area with fine-grit sandpaper. After sanding, touch up the affected area with additional paint to blend it with the rest of the surface.
Remember, prevention is key, so taking the necessary precautions during application can significantly reduce the chances of drips.
Preparation:
- Clean and prepare the surface:
Ensure that the surface you are painting is clean, dry, and free from any dust, dirt, or grease. Cleaning the surface beforehand helps the paint adhere better and reduces the likelihood of drips.
- Use a primer:
Applying a primer before spray painting can create a smooth and even surface, which can minimize drips. Primers also provide better adhesion and help the paint adhere more evenly.
Related: Must Know What Size Spray Tip For Masonry Paint?
Techniques:
- Back-brushing or back-rolling:
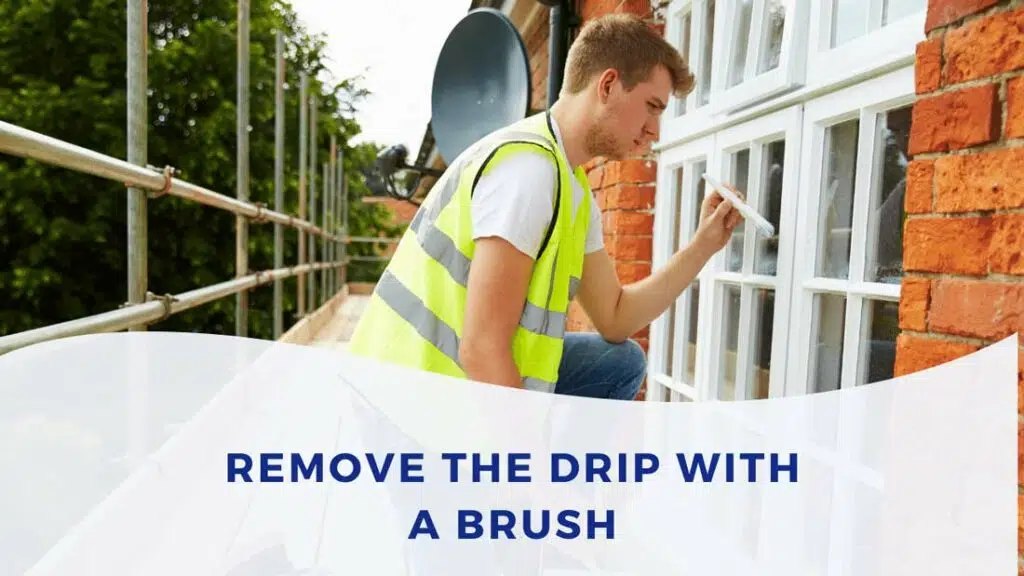
If you’re painting a larger surface such as walls or furniture, you can use a brush or roller immediately after spray painting. This technique, known as back-brushing or back-rolling, helps to smooth out any drips or uneven areas, ensuring a more uniform finish.
- Maintain consistent pressure:
When using a spray can, apply consistent pressure on the nozzle throughout the spraying process. Sudden bursts of pressure or releasing the nozzle abruptly can lead to uneven paint application and potential dripping.
- The angle of the spray:
Pay attention to the angle at which you hold the spray can. Holding it too vertically can result in drips, especially if you are painting a vertical surface. Tilt the can slightly in the direction of the stroke to reduce the chances of drips.
- Practice on test surfaces:
If you are new to spray painting or using a specific paint brand, it can be helpful to practice on a test surface or a scrap material first. This allows you to get familiar with the paint’s behavior, coverage, and how to control the spray to minimize drips.

Additional Tips:
- Use high-quality spray paint:
Investing in good-quality spray paint can make a significant difference in preventing drips. Higher-quality paints often have better consistency and flow, reducing the chances of dripping.
- Work in layers:
Instead of applying one thick coat, consider applying multiple thin layers, allowing each layer to dry before applying the next. This approach minimizes the risk of excessive paint buildup and drips.
- Work in controlled temperature and humidity:
Extreme temperatures and high humidity can affect the drying time of spray paint and increase the likelihood of drips. Ideally, choose a day with moderate temperature and low humidity to ensure optimal drying conditions.
Remember, practice and patience are key when it comes to achieving a drip-free spray paint finish. By following these methods and techniques, you can significantly reduce the chances of drips and achieve a professional-looking result.
Here are some additional steps and tips to help you prevent spray paint from dripping:
prevent spray paint from dripping:Steps:
- Test spray technique:
Before starting the actual project, practice your spray technique on a scrap piece of material or a test surface. This allows you to get a feel for the spray pattern, pressure, and distance needed for optimal paint application.
- Use a spray paint trigger:
If you’re working on a larger project or have limited finger dexterity, consider using a spray paint trigger attachment. These devices attach to the spray can and provide a more ergonomic grip, making it easier to control the paint flow and reduce the chances of drips.
- Choose the right nozzle:
Some spray paints come with interchangeable nozzles that offer different spray patterns (e.g., wide fan, narrow stream). Selecting the appropriate nozzle for your project can help you achieve better control and minimize the risk of drips.
- Work from top to bottom:
When painting a vertical surface, start from the top and work your way down. This allows any potential drips to fall onto unpainted areas, reducing the chances of visible streaks or unevenness.
Related: How Long Does Spray Paint Take To Dry? 25 Min Or 24 Hours?
Tips:
- Maintain a steady hand:
Holding the spray can steady and moving it smoothly across the surface can help you achieve an even application and minimize drips. If needed, you can brace your arm against a stable surface or use a spray can handle attachment for better control.
- Avoid over-spraying:
Over-spraying, or applying too much paint in one area, can lead to drips. Keep your strokes light and even, overlapping each pass slightly to ensure even coverage without excess paint buildup.
- Consider using a spray shield:
A spray shield, made of cardboard or plastic, can be helpful when working on intricate or delicate surfaces. It acts as a barrier, preventing overspray and minimizing the risk of drips on unwanted areas.
- Work in a well-ventilated area:
Adequate ventilation is important when working with spray paint. It helps the paint dry faster and reduces the chances of paint particles accumulating and causing drips. If working indoors, open windows or use fans to improve air circulation.
- Follow drying time recommendations:
Allow the paint to dry fully between coats as recommended by the manufacturer. Rushing the drying process can result in drips or smudging, compromising the overall finish.
- Inspect for drips regularly:
As you work, periodically check for any forming drips or runs. If you notice any, gently smooth them out with a brush or sponge before they have a chance to dry and become difficult to fix.
- Practice patience:
Take your time and be patient throughout the process. Rushing can lead to mistakes and increase the likelihood of drips. Remember, achieving a smooth, drip-free finish requires careful attention and precision.
By following these additional steps and tips, you should be well-equipped to prevent spray paint from dripping and achieve a clean, professional-looking result.
Conclusion:
Preventing spray paint from dripping is a key aspect of achieving a flawless finish in your projects.
By implementing the effective methods discussed in this guide, you can significantly reduce the risk of drips and create a professional-looking result. From proper preparation and technique to using the right tools and materials, each step plays a crucial role in preventing drips during the application process.
Additionally, being mindful of factors such as distance, pressure, and environmental conditions can further enhance your ability to achieve a drip-free finish. Remember to practice patience and take your time throughout the process, as rushing can lead to mistakes and compromised results.
By applying these methods and tips, you can master the art of spray painting and enjoy a smooth, drip-free finish in all your projects.
Jane Ansems is a highly talented and accomplished spray can artist, known for her intricate, detailed, and thought-provoking works of art. She began her career as a street artist in the early 2010s, quickly gaining recognition for her unique and innovative style.